

Setting Up the App for Your Child
The basics take just a couple of minutes. And if you want to go further — making every letter feel like it was made for your child — that's easy too.
The Essentials
Two things to do before your child plays for the first time.
Open the menu
Tap the menu icon to get started. From here you can reach Settings, where the first-time setup lives.

Tap the menu to get started — then select Settings.
Enter your child's name
The Settings screen keeps things simple — the most important item is right at the top. Enter your child's name.
The app uses their name to personalize the experience from the very first letter. If your child is just starting out with letters, consider typing it in all caps — the letters will appear in the game exactly as you type them here, so matching the format to what they'll see on screen helps build recognition faster.
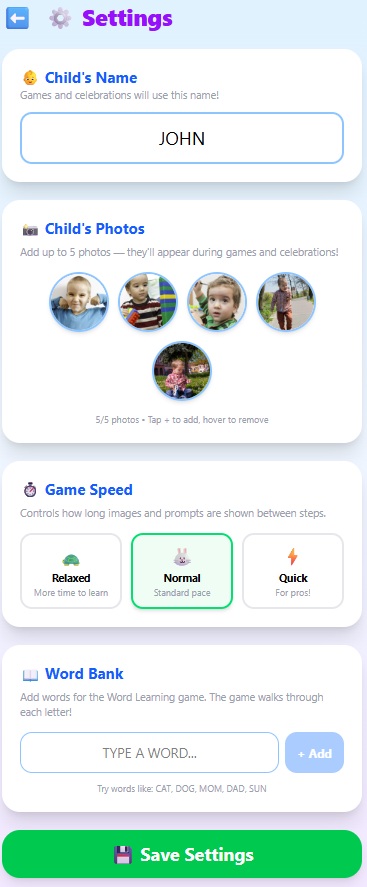
Enter your child's name at the top — this is the most important first step.
Add a few photos of your child
Just below the name field, you'll see Child's Photos. You can add up to 5 images. These aren't letter-learning photos — they're there to keep your child engaged and smiling while they play. A familiar face on screen makes a big difference for little ones.
Pick a few favorites from your camera roll. Doesn't need to be anything special — just photos your child will light up when they see.
Ready to play!
Name entered, photos added — hand the phone to your child and let them explore. The game works beautifully with the default letters right out of the box. When you're ready to make it even more personal, keep reading.
Making It Truly Theirs
Replace any letter's image and word with something from your child's own world.
Out of the box, the game comes with a default set of letter associations — J is for Jet, B is for Ball, and so on. These work perfectly well. But the app really comes alive when the letters mean something to your child. J is for John — with a photo of their cousin. B is for Bella — with a picture of your dog. That's what makes this different from any other alphabet app.
Open the menu again and tap Management
Head back to the menu and select Management. This is where you can see and edit every letter in the game.
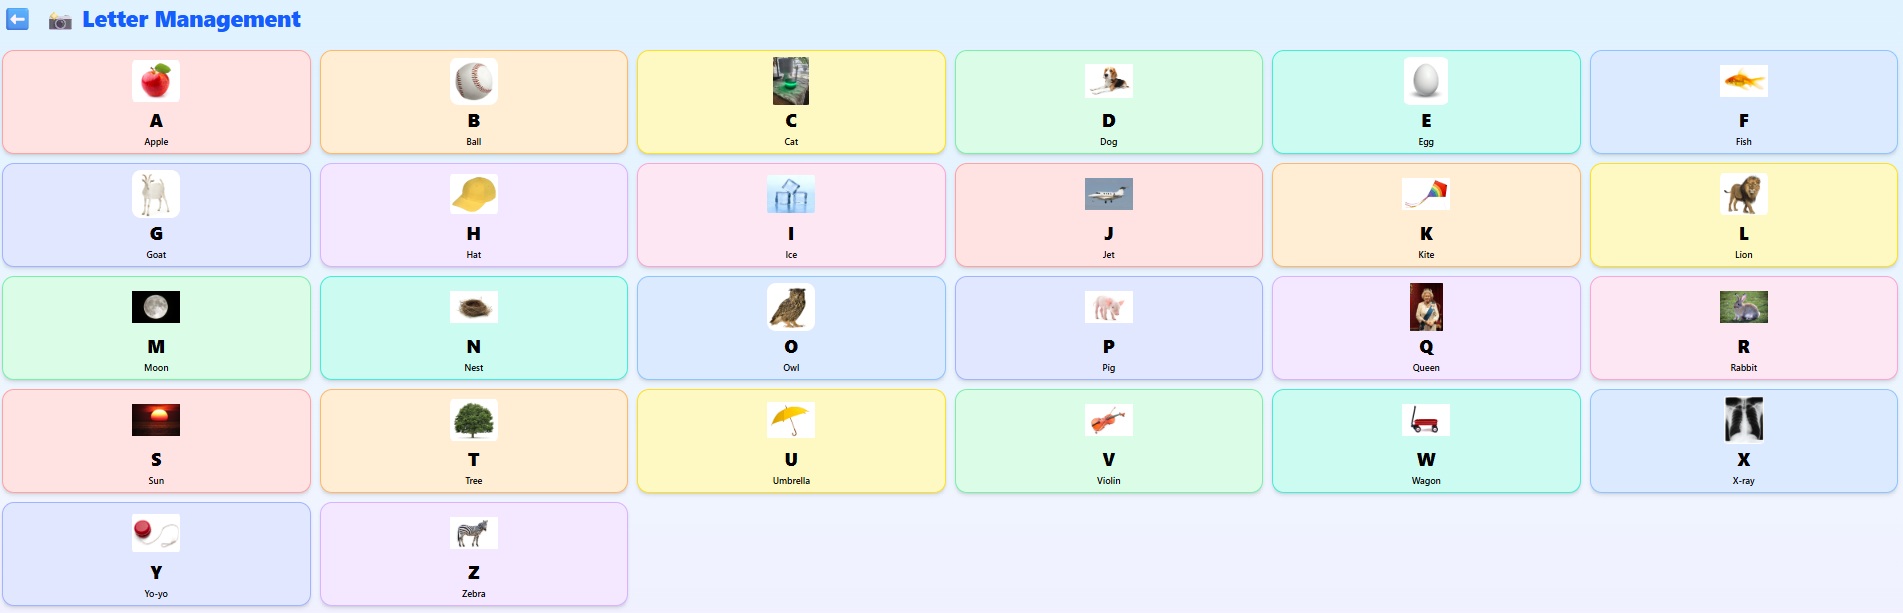
The Management screen shows all 26 letters — tap any one to change it.
Tap a letter to see what it's currently set to
Let's say you tap J. You'll see that J is currently set to "Jet" — complete with a picture of a jet and the word spelled out. That's the default. It's fine! But you can do better.
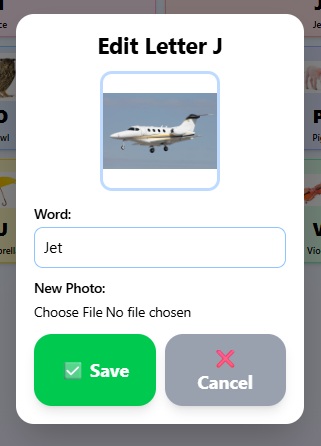
J is for Jet — the default. You're about to make it personal.
Change the word and swap in your own photo
Type the new word — JOHN, for example — and then tap the image to replace it. You can choose a photo from your phone's gallery, or tap the camera to take one on the spot. A quick photo of John right there in the moment works just as well as a carefully chosen one.
The game uses the word you type to teach spelling and letter recognition — so make sure the word matches the photo. If the picture is of John, the word should be JOHN. That's how the app knows which letters to teach and how to spell the name when your child plays.
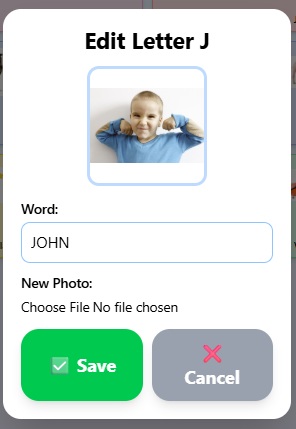
J is now for John — a face your child knows and loves.